ブログを始めると、ブログの情報を得るためにGoogleアナリティクスを使用する方は多いでしょう。
その際、自分で投稿した記事を見るとアクセス数がカウントされ、一見アクセスがあったとか、アクセスが増えたと勘違いしてしまう場合があります。
そうすると、アナリティクスで正確な情報データを残せません。
ではどうすればよいのか。
自分のIPを確認する
以下のURLにアクセスすることで自分のPCのIPアドレスが確認できます。
※コマンドプロンプトで確認できるものとは異なります。
アナリティクスでIPを除外する
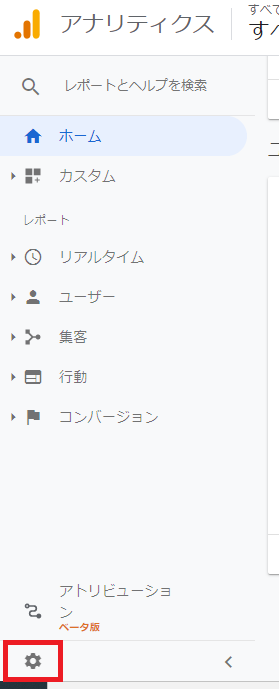
アナリティクスにログインして、画面左下の歯車マークをクリック。
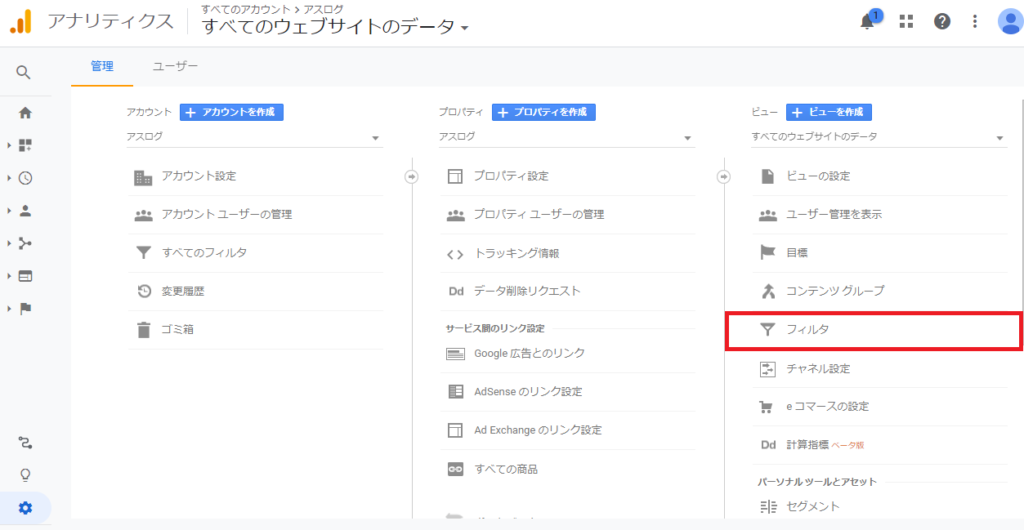
画面右の[フィルタ]をクリックします。
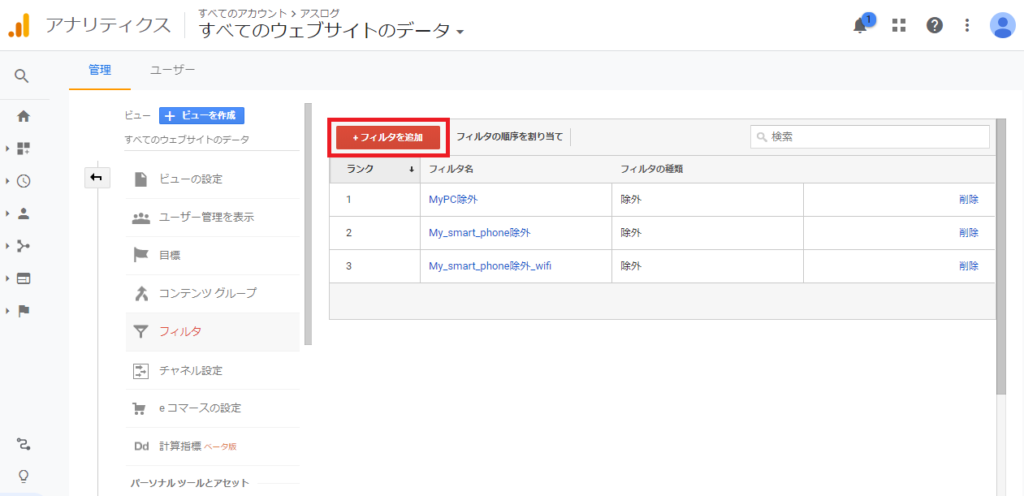
[フィルタを追加]をクリック。
[新しいフィルタを作成]を選択。
[フィルタ名]に任意のフィルタ名を入力。
[フィルタの種類]で[カスタム]を選択。
[フィルタフィールド]の[フィールドを選択]をクリック。

虫眼鏡マーク欄に ” ip ” と入力。
[IPアドレス]を選択。

[フィルタ パターン]に確認した自分のIPアドレスを入力。
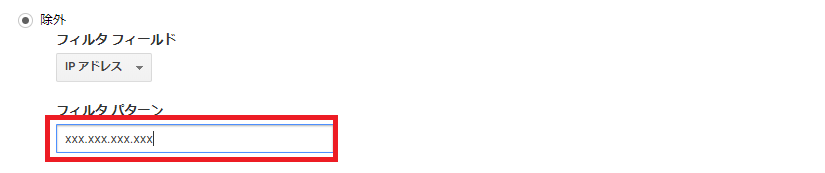
[保存]をクリック。

作成したフィルタが表示されることを確認。
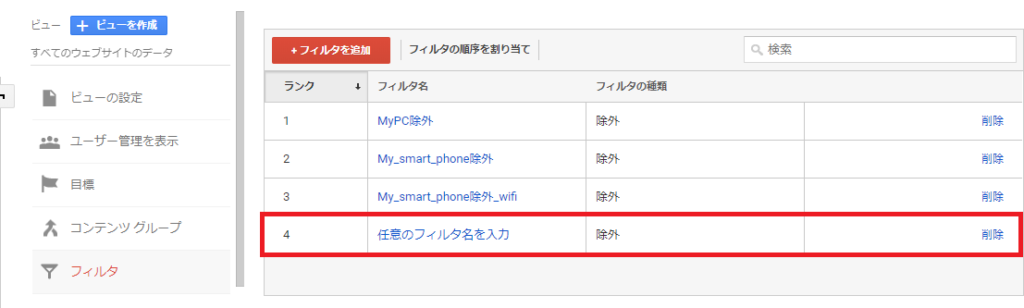
以上です。
補足
インターネットに接続しなおすとIPが自動で変わったりするので、その時は、フィルタの編集でIPアドレスを変更するか、再度IPアドレスを登録する必要があります。
コメント